
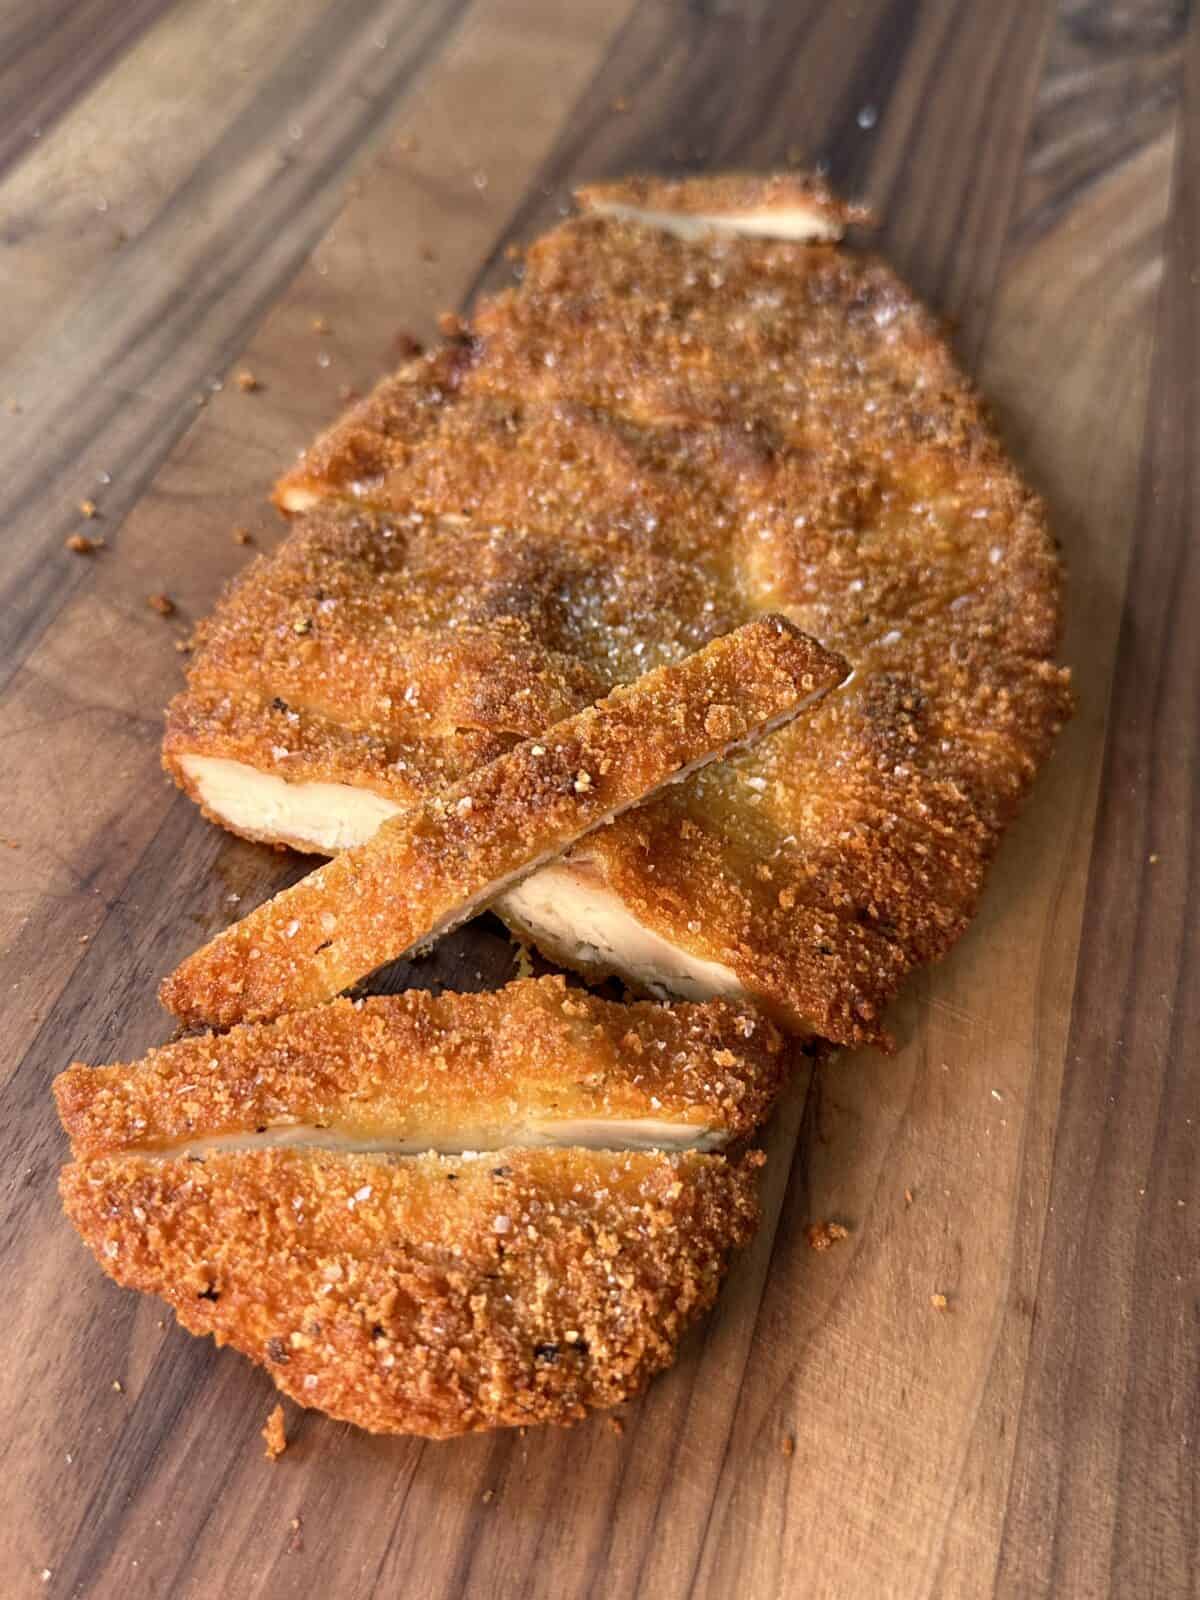
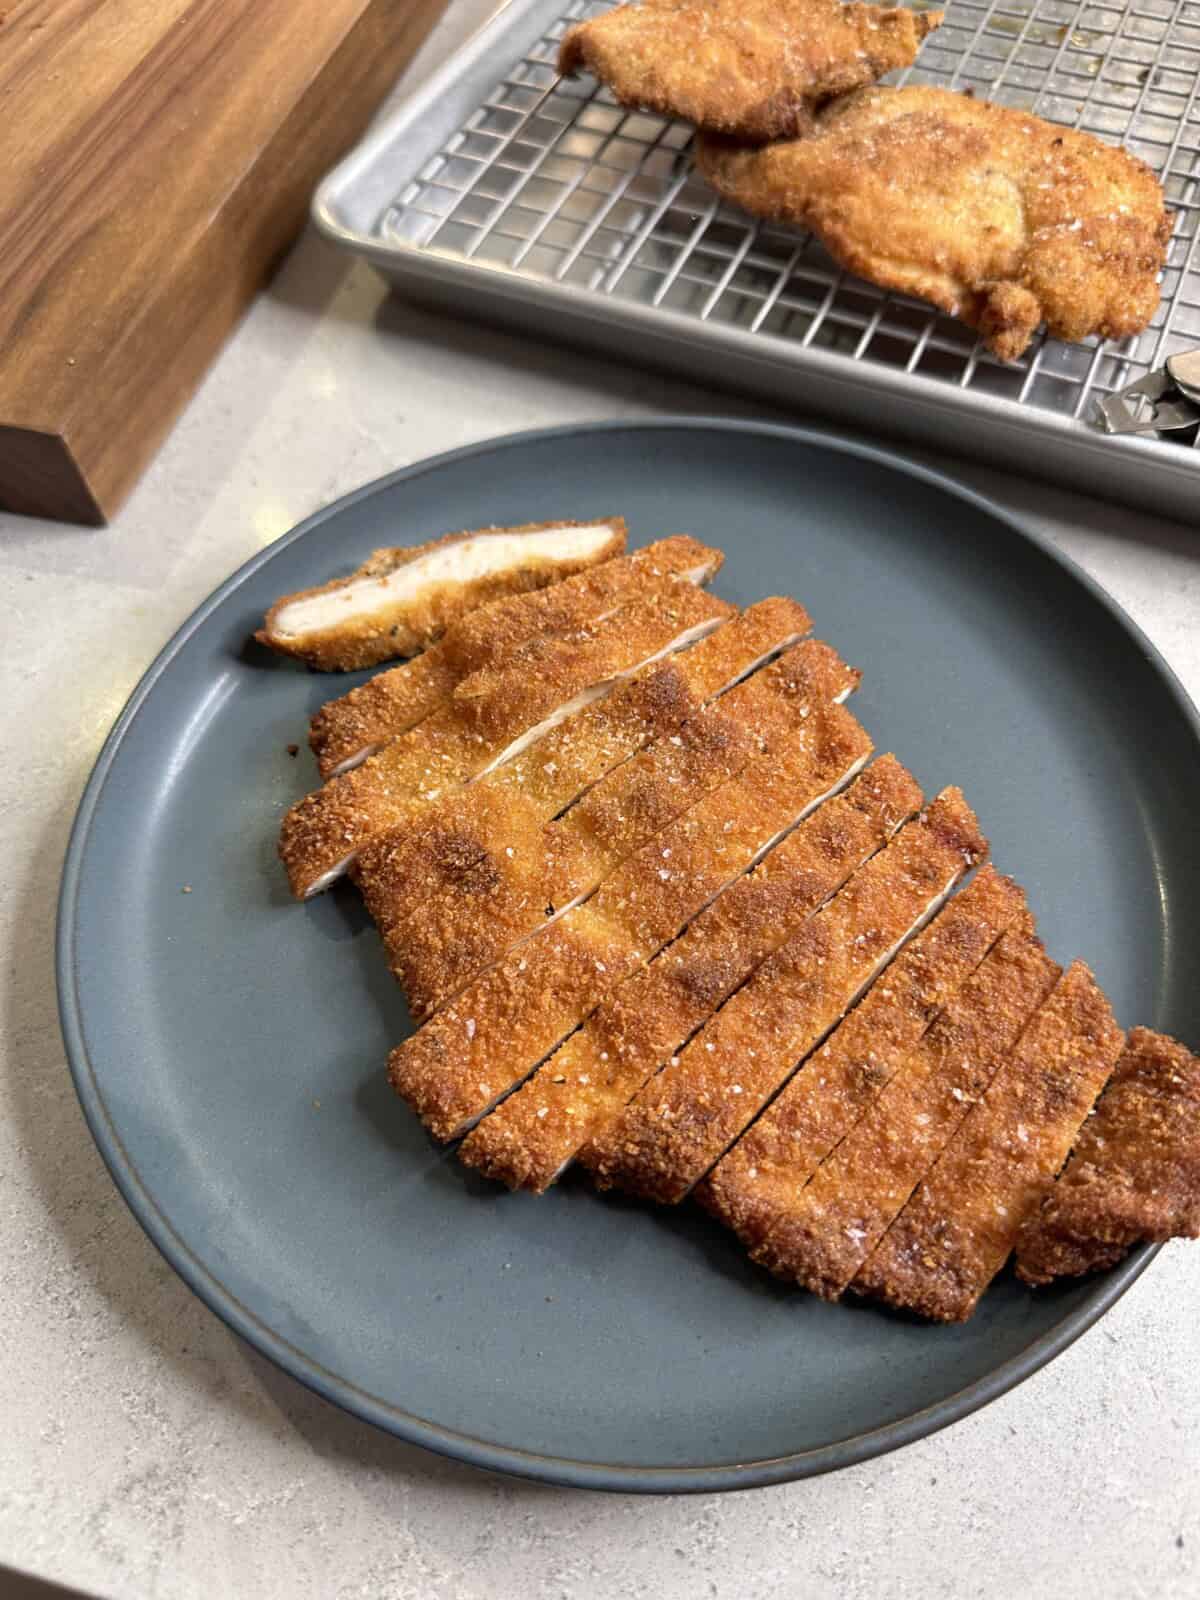
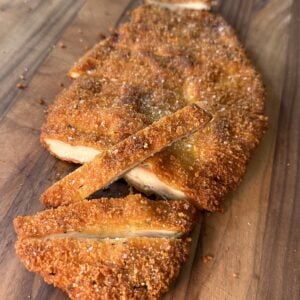
Chicken cutlets. In its most classic form, you have thin, pounded chicken breasts coated in seasoned breadcrumbs and fried until golden brown in extra-virgin olive oil, topped with flaky sea salt. Simple, delicious, and tastes like home.
While it only requires a handful of ingredients to make, the key is in HOW you do it. That is what makes the difference between a good cutlet and a GREAT one. Also, it is important to mention that it’s also subjective to your tastes: some like a thicker cutlet, some like it thin. Some like it lightly fried, some like it well done. If this picture looks like your kinda cutlet, then tune in and listen up because I am going to show you how to make my definition of PERFECT chicken cutlets.
❤️ Why You’ll Love Chicken Cutlets
- It is a SIMPLE recipe that everyone will love. Every single time I make a batch of cutlets, they without fail get cleared out. It’s only a handful of ingredients and quick cook time.
- Super CRUNCHY yet moist and JUICY inside. The exterior gets super crispy yet the center remains tender and juicy.
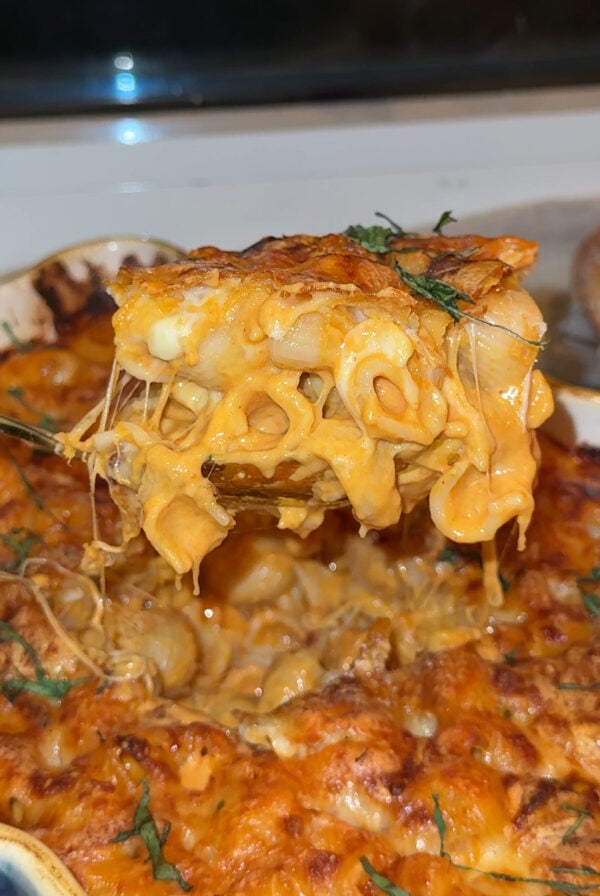
- Versatile and meal prep-friendly. You can have the cutlets as is, use them in sandwiches, turn it into chicken parmigiana and MORE! Thus, worthwhile making a bigger batch and storing leftovers.
🍲 Ingredients
Chicken breasts – thin pounded butterflied chicken breasts are the classic protein used for this dish. BUT, that being said there are plenty of other ways you can cutlet…chicken thighs, pork, beef, eggplant, tofu and MORE!
Flour – this will be the first coating, which helps create a perfect seal on the surface, allowing it to remain juicy while crisping and absorbing less oil.
Egg – this is our binder, aka what makes the breadcrumbs stick.
Breadcrumbs – homemade or store-bought, either will work. My favorite way to cutlet is using a mixture of Italian-style fine breadcrumbs and also some panko (crushed up a bit) for extra crunch.
Salt & Pepper – essential seasonings that will be added at every step…the chicken before coating, the dredging station, and fresh out of the oil.
Parmigiano / Pecorino Cheese – a touch of grated cheese in the breadcrumbs adds an extra boost of flavor.
Olive oil – if you can, fry them in extra virgin olive oil. The flavor imparted makes a difference.
Garlic powder & parsley – optional seasoning boosts to add to the breadcrumbs.
👩🍳 How to Make Chicken Cutlets
Step 1: Prep the Chicken
- Carefully cut the chicken breasts in half lengthwise, also known as butterflying the chicken.
- Place each halved chicken breast between two pieces of parchment or plastic wrap. Using a meat mallet, carefully pound out the chicken to thin it out working from the center out.
- Season the prepped chicken with salt and pepper.
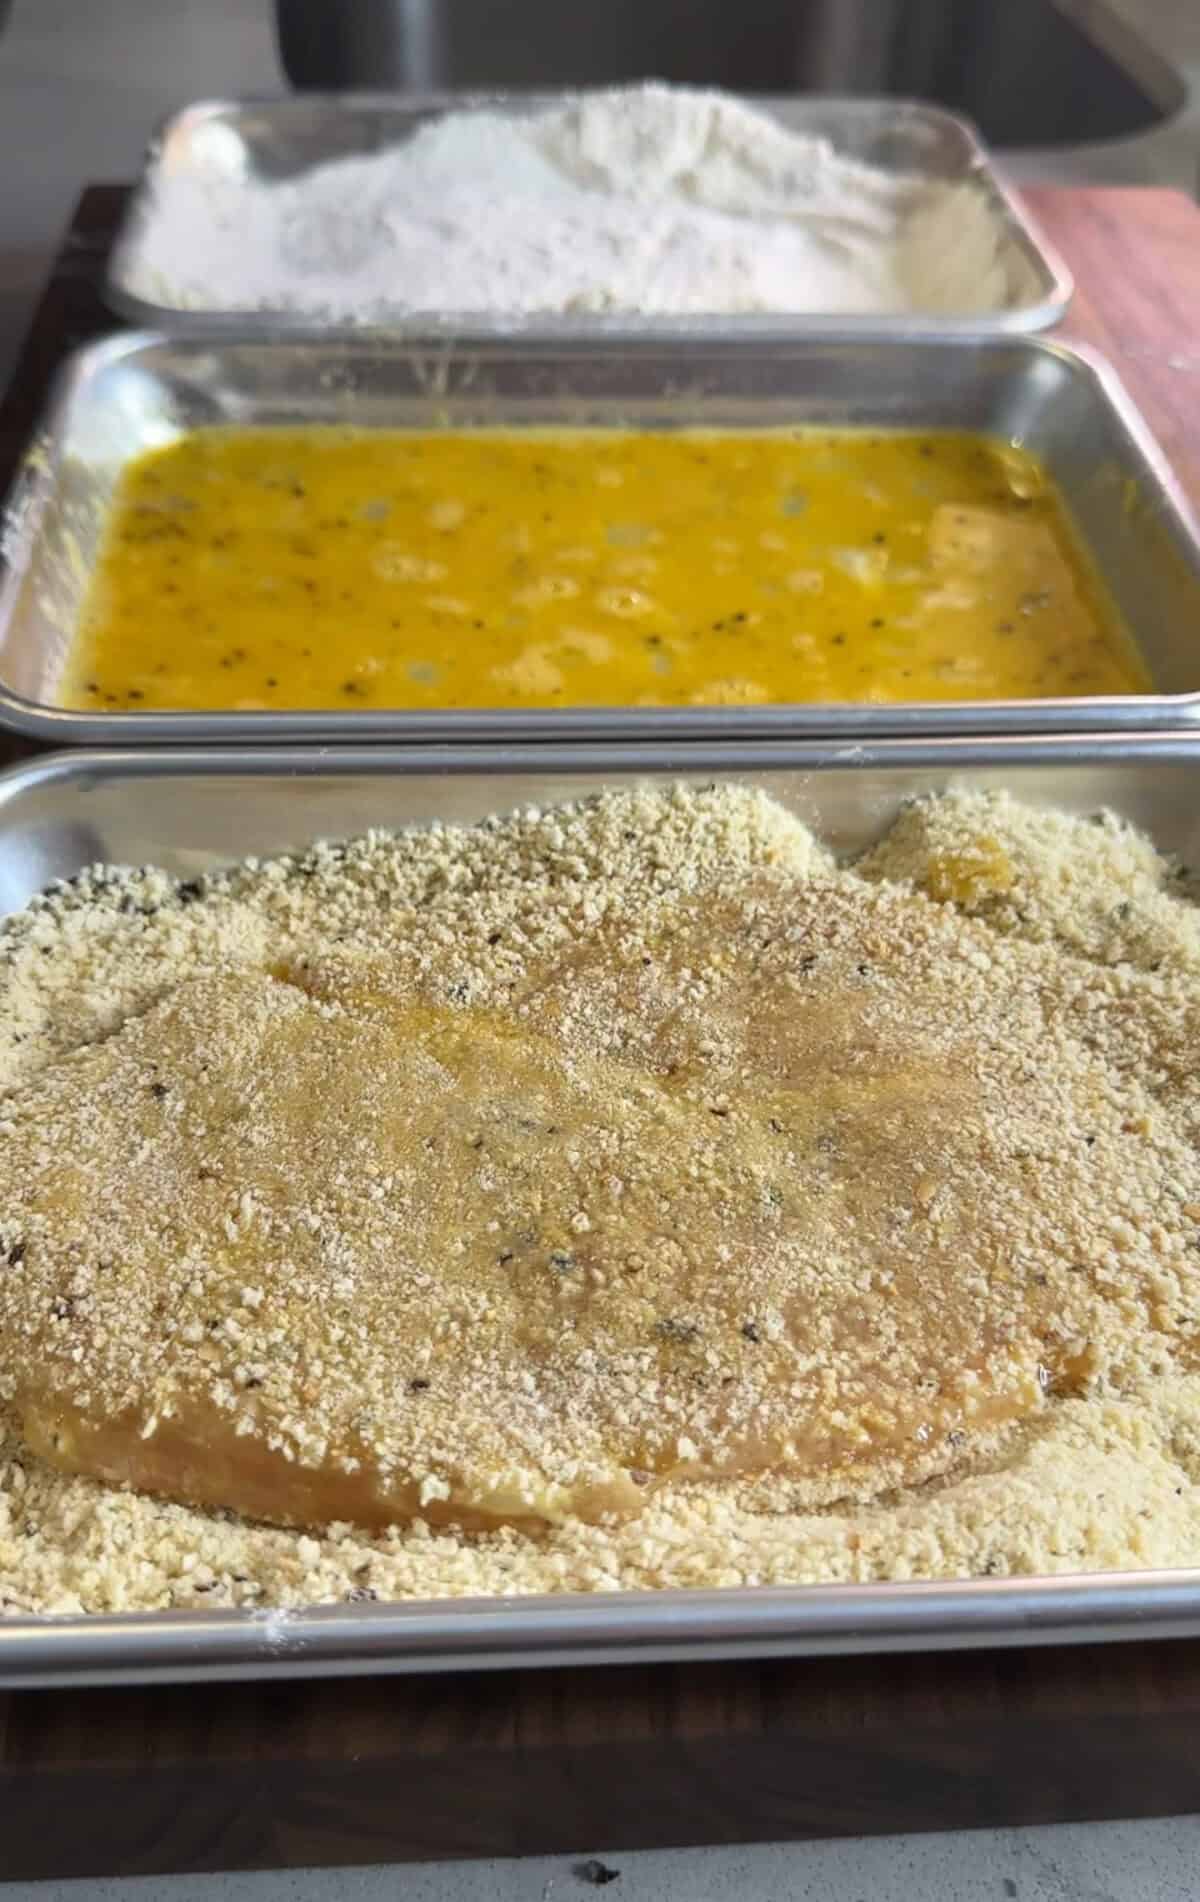
Step 2: Set up the dredging station
- Set up three bowls/trays in a row next to each other. These are my favorite trays from Amazon to use. + a plate to hold the finished cutlets.
- In one add the flour, in the next add eggs, in the last add the breadcrumbs & seasonings. Salt and pepper goes into each tray.
Step 3: Coat the chicken
- Work one at a time and with both hands, one hand for wet and the other for dry. Use one hand to drop the chicken into the flour, then use the other to coat it in a thin layer of flour and then carefully transfer to the egg. Switch back to your other hand to coat the chicken in the egg, making sure to allow excess to drip off, then drop into the breadcrumbs. Back to the other hand to give a good coating of breadcrumbs on the chicken.
- Make sure to press your hands into the chicken on both sides into the breadcrumbs for a full coat. Set the breaded cutlets on a dish or tray.
Step 4: Cook the cutlets
- Heat a large skillet over medium-low heat and add in enough olive oil to come up halfway on the cutlets (about 1 inch). Allow the oil to get hot, you can tell when you drop in a breadcrumb and it immediately sizzles.
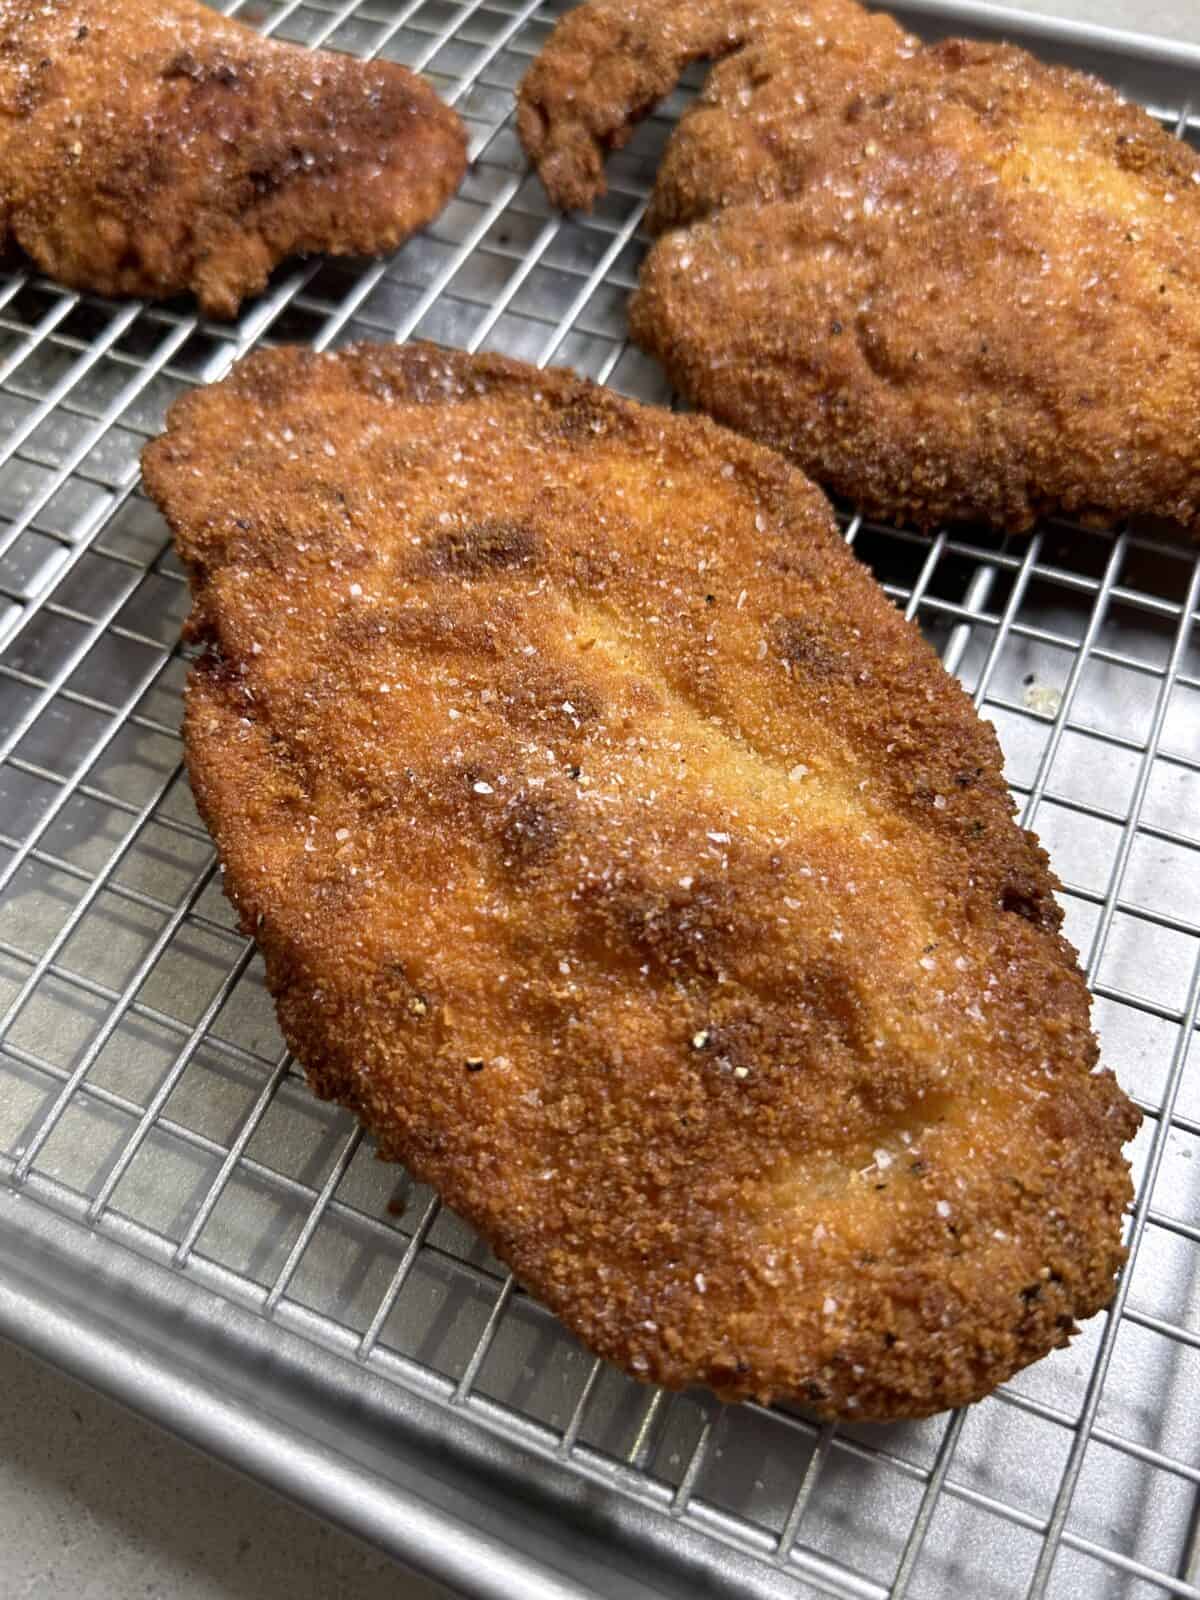
- Add the cutlets to the oil in batches, and cook until golden brown on both sides. About 3-5 minutes, per side depending on how hot the oil is.
- Remove the finished cutlets from the oil and place on a wire rack lined tray. Immediately sprinkle with some salt.
🪄 Tips and Tricks
- Pound it out! For an even and thin cutlet, use a meat mallet or any heavy object with a flat surface and begin pounding out the cutlet. Start in the center and work your way to the edges.
- PRESS IN THE BREADCRUMBS. This is my biggest tips to make GREAT cutlets with an epic crunch yet juicy center. You need a good coating on the exterior to seal it in and taking the time to hand press each cutlet on both sides makes a difference!!
- Add more oil as needed. While fry the cutlets, some of the oil may evaporate or get absorbed so keep an eye out and add more for the following batches as needed.
🗒 Variations
Cutlets is the style, the protein/veg can change over and over again. Here are some of my other favorites to CUTLET:
- Chicken Thighs – these are my absolute FAVORITE!!!
- Flounder/Lemon sole
- Pork tenderloin
- Beef tenderloin
- Eggplant
- Tofu
🗒 Substitutions
For dietary restrictions, here are some swaps:
- Flour – use gluten free or rice flour
- Egg – swap for any egg substitute
- Breadcrumbs – opt for gluten free breadcrumbs
🗒 Best served with
- A light and fresh salad.
- Dish of pasta
- Side of veggies and potatoes
👝 How to Store Leftovers
Store leftover chicken cutlets in an airtight container in the fridge for up to 3-4 days or freeze them for up to 3 months. For reheating, use a skillet, oven or airfryer to crisp them up again.
🤔 Common Questions
Yes, you can prep the cutlets, bread them, and refrigerate them for up to 24 hours before frying. This helps the breadcrumbs stick better!
Press the breadcrumbs into the chicken firmly and ensure the oil is hot before frying. This creates a crispy, golden-brown exterior.
Pounding the chicken ensures an even, thin cutlet, which helps it cook quickly and evenly, keeping it juicy inside while crispy outside.
Chicken Cutlets
Ingredients
- 1 lb chicken breasts, butterflied and pounded thin
- ½ cup flour
- 1 egg
- 1 cup breadcrumbs, Italian-style or panko, or a mix, plus more as needed
- Salt & pepper, to taste
- Olive oil, for frying
Optional Add-Ons:
- ¼ cup Parmigiano or Pecorino cheese, grated
- 1 tbsp fresh chopped parsley
- Garlic powder, 1 tsp
- Lemon zest, 1 tsp
- Orange zest, 1 tsp
- Basil, fresh or dried, 1 tsp
Instructions
Prep the Chicken:
- Butterfly the chicken breasts by slicing them in half lengthwise.
- Place each chicken breast between two pieces of parchment or plastic wrap.
- Using a meat mallet, pound the chicken to an even thinness (about ¼ inch thick). Start from the center and work to the edges.
- Season both sides with salt and pepper.
Set Up the Dredging Station:
- In three separate bowls or trays, arrange the following:Flour – for the first coatingEgg – beaten, as the binderBreadcrumbs + ….. grated cheese, parsley, and any optional seasonings (garlic powder, lemon zest, etc.)
- Season each bowl with a pinch of salt and pepper.
Coat the Chicken:
- Work one at a time and with both hands, one hand for wet and the other for dry. Use one hand to drop the chicken into the flour, then use the other to coat it in a thin layer of flour and then carefully transfer to the egg. Switch back to your other hand to coat the chicken in the egg, making sure to allow excess to drip off, then drop into the breadcrumbs. Back to the other hand to give a good coating of breadcrumbs on the chicken.
- KEY Tip: Press the breadcrumbs into the chicken firmly for a better crust!
Cook the Cutlets:
- Heat about 1 inch of olive oil in a large skillet over medium-low heat.
- Once hot (you’ll know when a breadcrumb sizzles), add the cutlets in batches, cooking for about 3-5 minutes per side, or until golden brown and crispy.
- Remove from the oil and place on a wire rack-lined tray to drain any excess oil.
- Sprinkle with flaky sea salt immediately after frying.
Nutrition
Nutrition information is automatically calculated, so should only be used as an approximation.


Made this before using your recipe and YUM!
Thank you!
💫⭐️⭐️⭐️⭐️⭐️
Amazing! The best and crispiest chicken cutlets!
So happy you loved them! 🥰 Crispy chicken cutlets never fail — thank you for trying the recipe!