

With 3 ingredients and 30 minutes, you can make incredible & fresh homemade ricotta! The flavor is rich and creamy, and 10x better than buying store-bought ricotta…Make it once and it’s hard to go back to the tub.
The way it’s made is by separating the curds from the whey. The curds are a mixture of the protein and fat of the milk that forms together to make the ricotta. The whey is the remaining liquid by-product, which actually has a use of its own! The leftover whey is fantastic in desserts and baked goods — try using whey instead of water in your next batch of pancakes, bread or pizza dough!!

❤️ Why You’ll Love Homemade Ricotta
Making fresh homemade ricotta is way simpler than it seems. It’s one of those recipes that if you try it once, you’ll want to make it over and over again. Whether it’s just for yourself or for preparing a special meal for friends and family.
My favorite part is that you control the texture of it. You can decide how wet or dry the ricotta is simply by how long I let it drain (or by adding back in some whey.)
Wetter, looser ricotta is great for things like pizza, or ricotta toast, and drier, firmer ricotta for gnocchi, cannolis, and other desserts that require more texture.
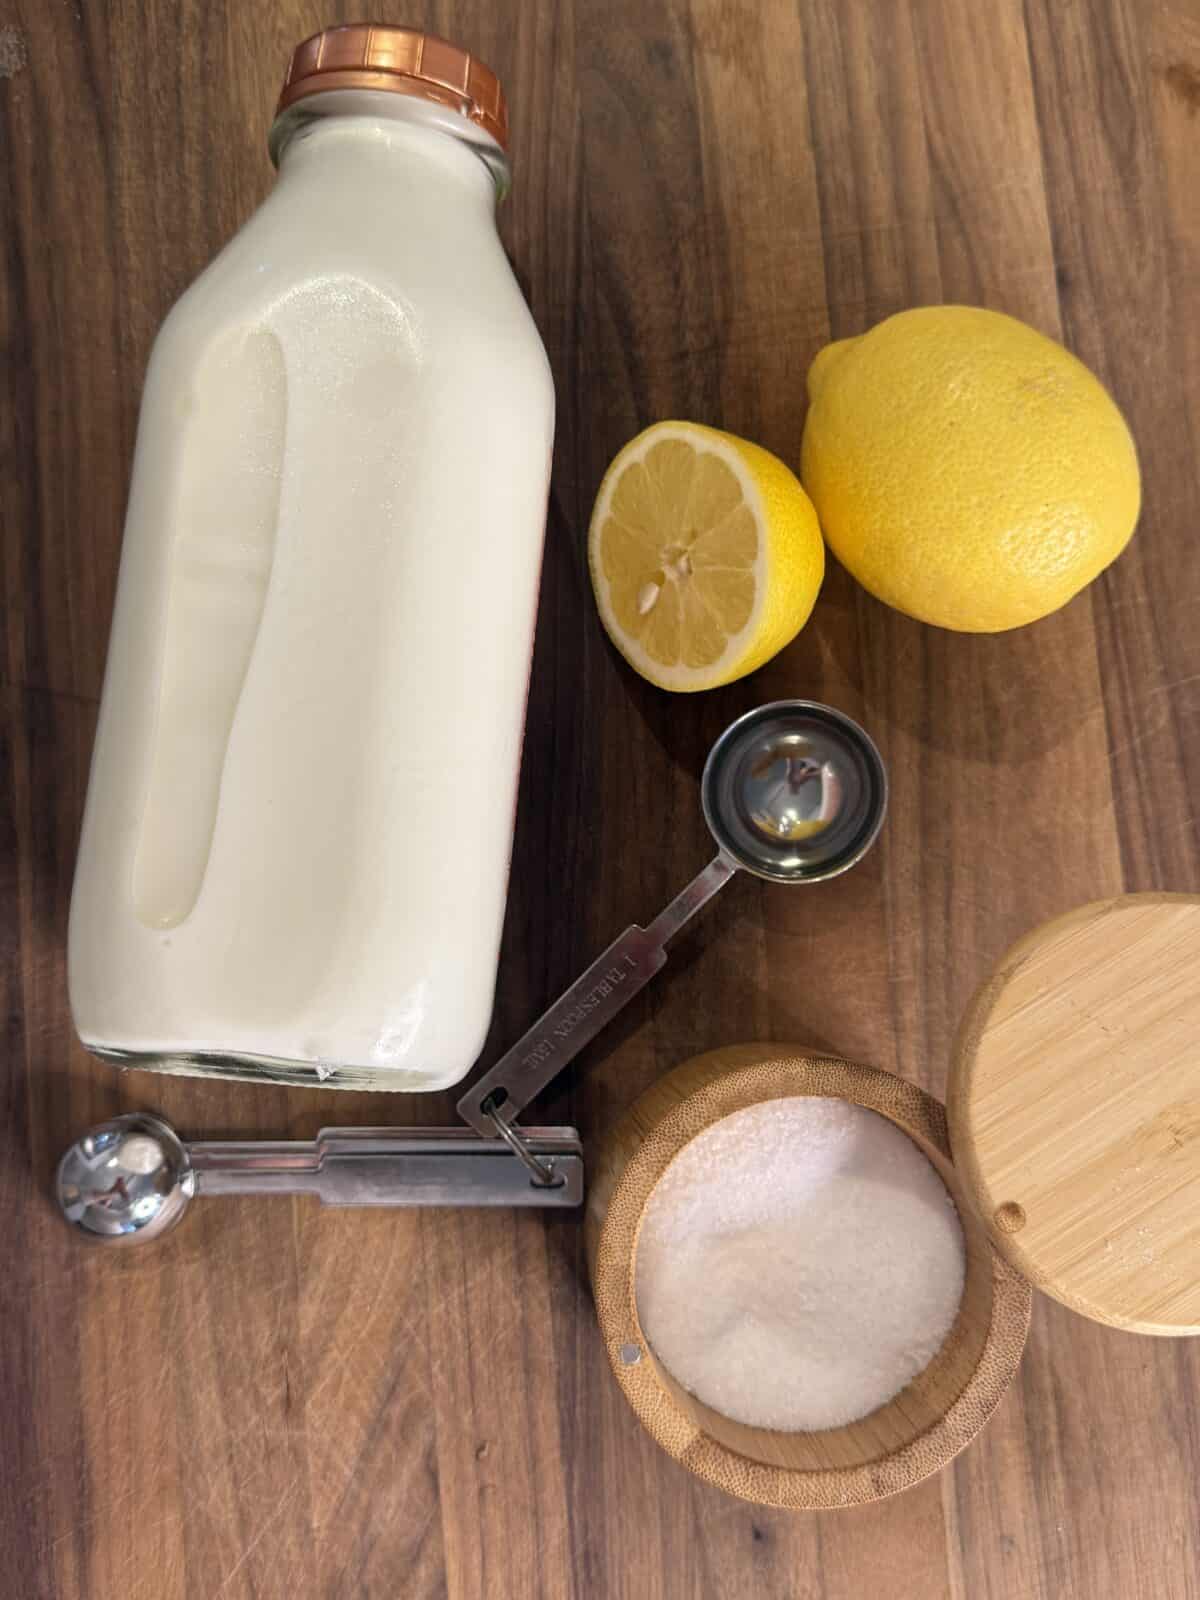
🍲 Ingredients
Whole Milk – This process for making ricotta works best if you’re using whole milk. Avoid using ultra-high temperature (UHT) pasteurized milk, as this process changes the protein structure of the milk and prevents it from separating.
Lemon juice – freshly squeezed lemon juice is my acid of choice. You can also use distilled white vinegar or citric acid, if you prefer. This is important because this is what will cause the curds to separate from the whey and essentially create the ricotta cheese.
Salt – the only seasoning you’ll need to make classic ricotta, though it is optional. If you want to add more flavor, add it once it’s done to avoid interfering with the curd formation.
👩🍳 How to Make Homemade Ricotta
Warm the milk to 200°F.
Heat the whole milk with a pinch of salt in a pot slowly over medium heat until it reached 200°F. The milk will get foamy and start to steam, but make sure that it doesn’t boil.
Add the lemon juice.
Turn off the heat. Add the lemon juice and stir gently twice until combined.
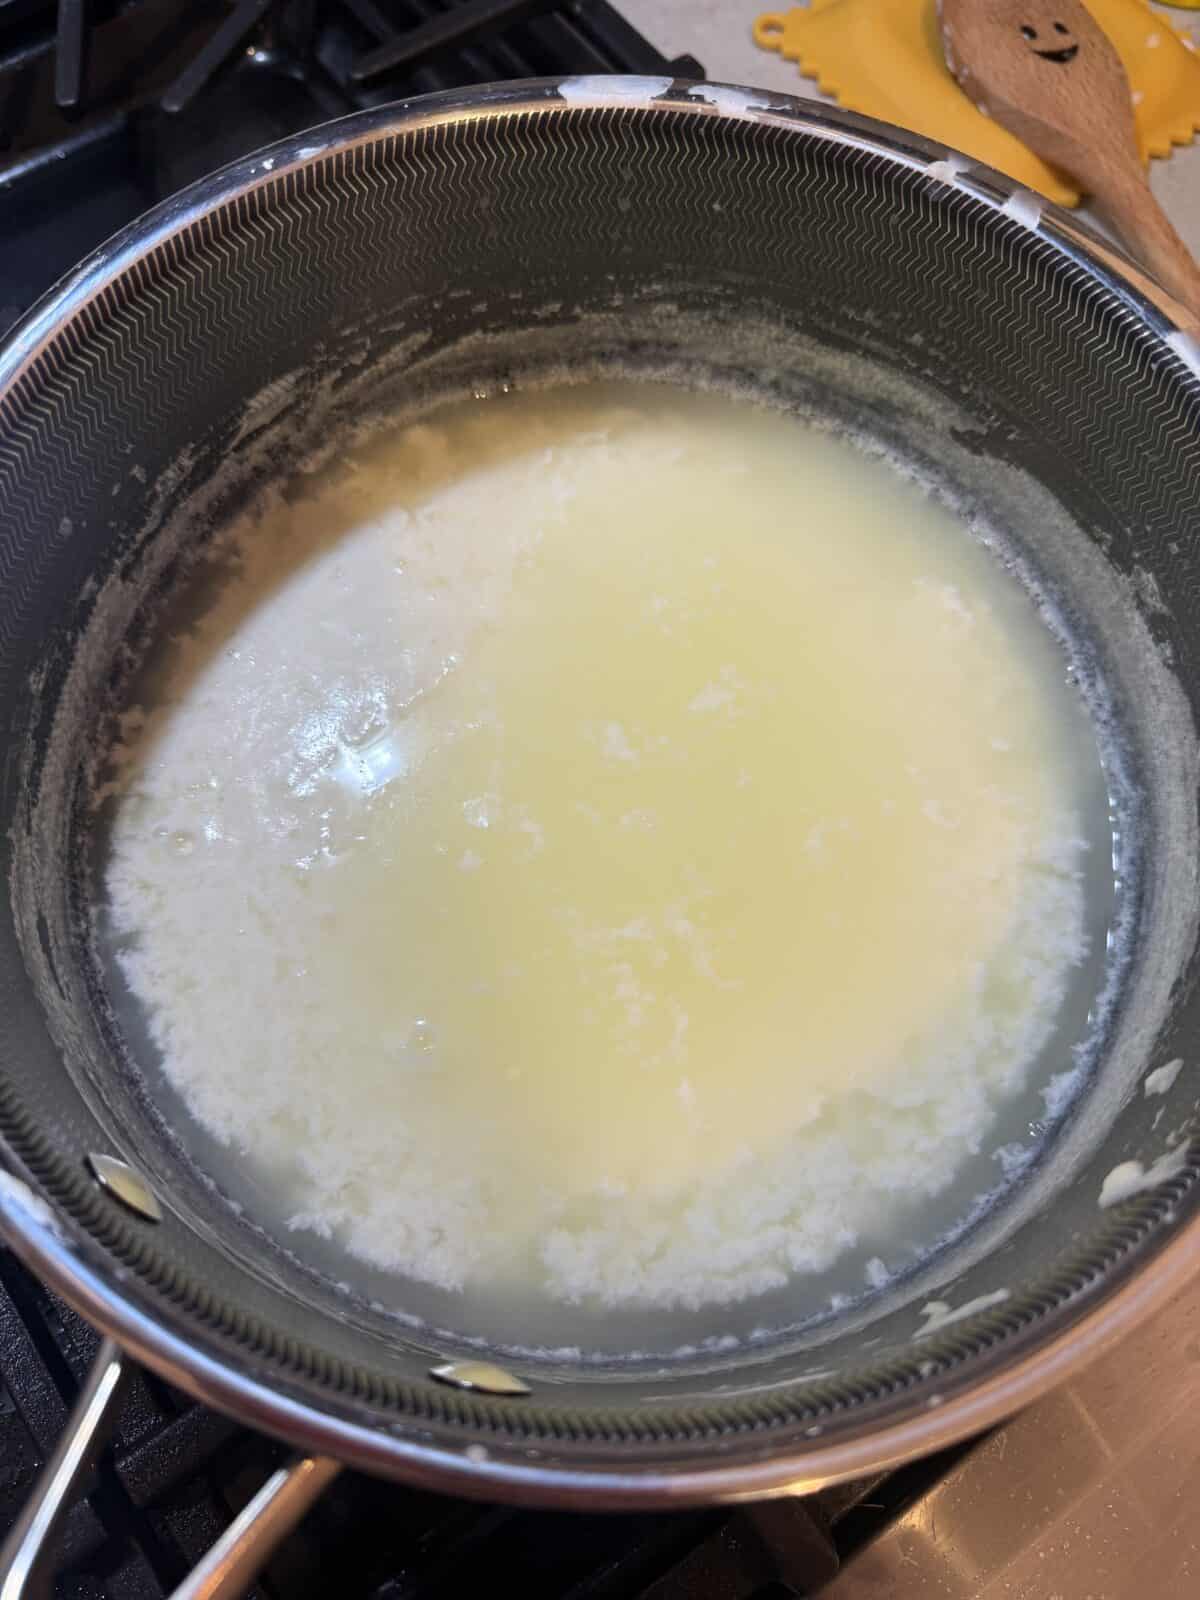
Let the milk sit for 10 minutes.
Let sit undisturbed for 10 minutes. After this time, the milk should have separated into clumps of milky white curds and thin, watery, yellow-colored whey — dip a slotted spoon into the mix to check. If you still see a lot of un-separated milk, stir in 1 tablespoon more lemon juice or vinegar and wait for a few minutes.
Strain the curds.
Fit a strainer over a large bowl and line the strainer with cheesecloth. Pour the contents of the pot, curds and whey, through the strainer.
Drain the curds for 10 to 60 minutes.
Let the ricotta drain at room temperature for 10 to 60 minutes, depending on how wet or dry you prefer your ricotta. If the ricotta becomes too dry, you can also stir some of the whey that drips out back in before using or storing it.

🪄 Tips and Tricks
- Heat slowly. Warm the milk over medium heat, stirring gently. Don’t let it boil as it will cause a layer of skin to form on the bottom of the pot and change the flavor.
- Strain time = texture:
- 10–15 min for creamy, spreadable ricotta
- 30+ min for firmer ricotta (great for baking or stuffing)
- Save the whey! Use it in bread, pancakes, smoothies, or soups—it’s full of protein!

🗒 Substitutions
- 2% milk: While whole milk is the favorite for making ricotta because of the extra fat and richness it brings, but 2% milk can also be used, though the ricotta is slightly less rich and creamy. Avoid using skim and nonfat milks as these don’t separate as easily into curds and whey.
- Pasteurized milk: Pasteurized milk is fine to use for making ricotta, but avoid UHT (Ultra High Temperature) pasteurized milk as this process changes the protein structure of the milk, preventing it from separating.

🗒 Best served with
- Toasted bread to make ricotta toast
- At the base of salad for some extra protein and creaminess
- To make delicious cannoli filling
- At the base of gnocchi
👝 How to Store Leftover Homemade Ricotta
Fresh ricotta can be refrigerated in an airtight container for up to 1 week.
🤔 Common Questions
Unfortunately, no. Ricotta relies on dairy proteins to curdle.
– Milk was ultra-pasteurized
– Not hot enough (should be around 185–200 F)
– Not enough acid
BUT, as long as you have the right milk you can fix it! Just reheat the milk back to 200 F, add another tsp of acid, and let it sit.
Homemade Ricotta

Equipment
- cheese cloth
- temperature probe
Ingredients
- 4 cups Whole Milk – This process for making ricotta works best if you’re using whole milk. Avoid using ultra-high temperature, UHT pasteurized milk.
- 3 tbsp Lemon juice – freshly squeezed lemon juice is my acid of choice. You can also use distilled white vinegar or citric acid.
- 1/2 tsp Salt
Instructions
Warm the milk to 200°F.
- Heat the whole milk with a pinch of salt in a pot slowly over medium heat until it reached 200°F. The milk will get foamy and start to steam, but make sure that it doesn’t boil.
Add the lemon juice.
- Turn off the heat. Add the lemon juice and stir gently twice until combined.
Let the milk sit for 10 minutes.
- Let sit undisturbed for 10 minutes. After this time, the milk should have separated into clumps of milky white curds and thin, watery, yellow-colored whey — dip a slotted spoon into the mix to check. If you still see a lot of un-separated milk, stir in 1 tablespoon more lemon juice or vinegar and wait for a few minutes.
Strain the curds.
- Fit a strainer over a large bowl and line the strainer with cheesecloth. Pour the contents of the pot, curds and whey, through the strainer.
Drain the curds for 10 to 60 minutes.
- Let the ricotta drain at room temperature for 10 to 60 minutes, depending on how wet or dry you prefer your ricotta. If the ricotta becomes too dry, you can also stir some of the whey that drips out back in before using or storing it.
Nutrition
Nutrition information is automatically calculated, so should only be used as an approximation.


loved!!