

Beef stock is a staple ingredient used in many different recipes. While it is commonly purchased at a store, I encourage you to make a batch of homemade beef stock. The flavor will make a HUGE difference. Using all fresh ingredients and freshly roasted meat makes an impact on the final flavor. While it does take some time, the majority of it is inactive. So, essentially, it is a set it and forget it task with WORTH it results. Next, whenever you make any type of stock, odds are you are making more than you’ll need in one sitting. This means you’ll be able to stock up on some extra stock in the fridge and freezer for the next time a recipe calls for it.

Do I think you always need to use homemade stock? I’d be lying if I said yes, because there are many times I reach for the store-bought stock. However, whenever I make a recipe where the stock is front and center (Italian beef sub foreshadowing) than I want a stock that packs in FLAVOR!
My final bit of advice before we dive into the recipe is that stock in general is customizable. This is my go-to simple stock base, but feel free add extra veggies, spices and herbs to your preference. My only advice to keep in mind, especially if you’re batching it, is to make sure it is not overly seasoned or salty. You can always add it in later 🙂
❤️ Why You’ll Love Homemade Beef Stock
- The flavor makes a huge difference, especially when compared to common store-brand stock.
- It’s easier than you think. While it does take time, the majority of it is inactive.
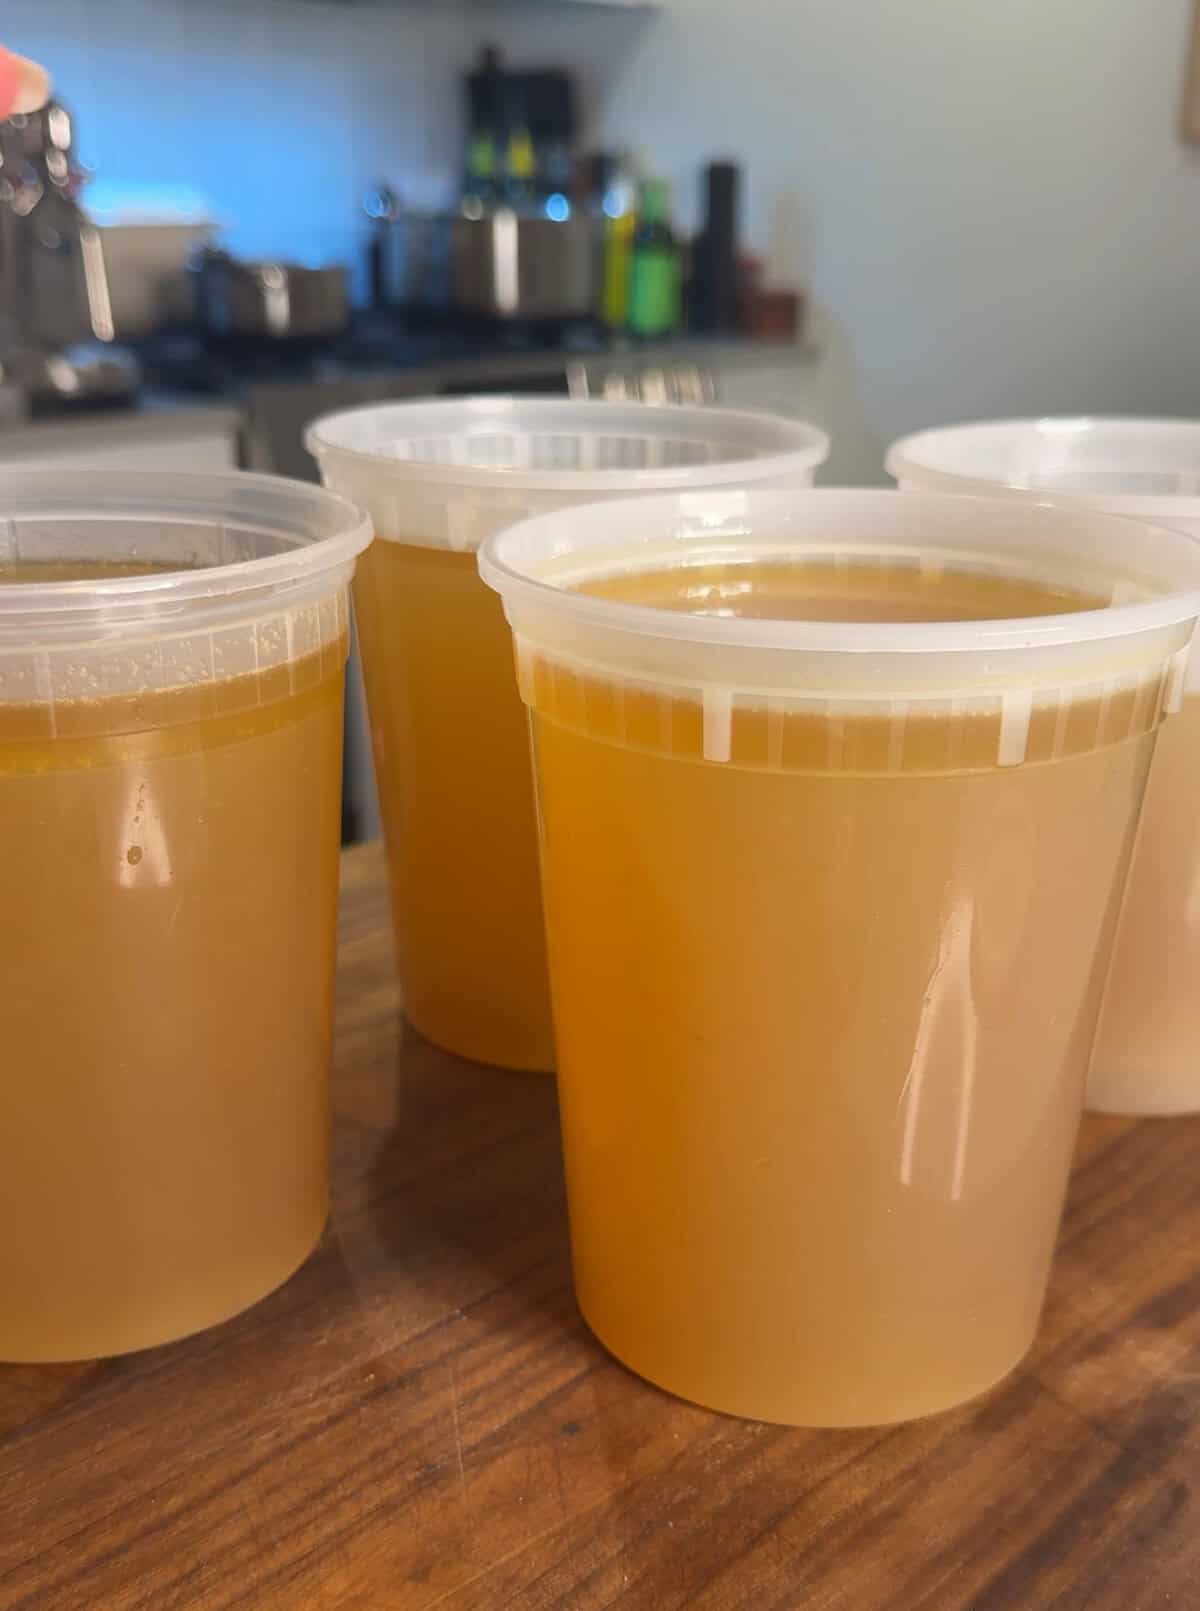
- Make a big batch, and it lasts you for months! Whenever I make stock, I made at least 4 quarts so that I have extra for the fridge/freezer ready for whenever I need it.
🍲 Ingredients
Beef Oxtail – beef oxtail is an excellent type of beef for stock, as it’s gelatin-rich (giving the stock a rich velvety mouthfeel). It also has a deep, roasty-beef flavor and a nice collagen boost.
Bone Marrow – another great cut of beef/bones to add to the broth due to the fat, umami richness it adds, along with mineral content which rounds out the nutritional profile and subtle savory notes.
Olive oil – just a touch before roasting the bones
Kosher Salt – just a touch before roasting the bones. In general, I don’t like to add a lot of salt to stock so I can control the saltiness of the dish better.
Onions – to add flavor to the stock
Carrot – to add flavor to the stock
Celery – to add flavor to the stock
Garlic – for some added flavor
Black Peppercorn – subtle flavor to the stock
Bay Leaf – subtle flavor to the stock


👩🍳 How to Make Homemade Beef Stock
- Roast the bones at 400°F until nicely browned and caramelized.
- Transfer bones to a large stockpot and deglaze the roasting pan with a bit of warm water to collect the browned bits (fond) and pour that into the pot.
- Add onions, celery, carrots, garlic, peppercorns, and bay leaf to the pot.
- Cover everything with cold water, leaving a bit of space at the top of the pot.
- Bring it up to a boil, then drop to a bare simmer.
- Let simmer gently, uncovered or partially covered, for 3–4 hours.
- Strain through a fine-mesh sieve or cheesecloth. Discard solids.
- Let cool, then chill in the fridge. Skim off the fat cap once chilled, or save it for cooking.
🪄 Tips and Tricks
- Roast the bones for extra flavor. While you could make the stock without roasting, that extra step adds SO much more flavor to the final product.
- Deglaze the roasting pan. After you remove the roasted bones and add them to the pot, add half a cup of hot water to the pan and use a wooden spoon to release the fond remaining in the pan and add it into the pot.
- Let the stock cool completely before removing excess fat. Once the stock is cool, removing the layer of fat will be MUCH easier.
My Pro Tip
Recipe Tip
Use the beef fat (also known as beef tallow) skimmed off the stock to cook anything from roasted potatoes, seared steak, to stir-fries, eggs, toast and more.
👝 How to Store Leftovers
Keeps in the fridge for 4–5 days. Freeze in containers or cubes for up to 3 months
🤔 Common Questions
Yes! Just roast them directly from frozen — they may take 10–15 minutes longer to brown, but the flavor will still be great.
Roasting is highly recommended. It adds depth, richness, and a beautiful dark color to the broth — especially important with oxtail and marrow.
Cold water helps slowly extract flavor, collagen, and nutrients from the bones and prevents the stock from becoming cloudy.
Definitely. 3–4 hours is solid for good flavor, especially in smaller batches. But for a more gelatinous, concentrated stock, go 8–12+ hours (or use a pressure cooker for speed).
Homemade Beef Stock

Ingredients
- 2 –3 lbs oxtail
- 1 –2 lbs beef marrow bones
- 1 Tbsp olive oil
- 1 tsp kosher salt, for seasoning bones only
- 2 onions, halved
- 2 carrots, chopped
- 2 celery stalks, chopped
- 1 head garlic, halved crosswise
- 1 Tbsp black peppercorns
- 1 –2 bay leaves
- Cold water, enough to cover (4-5 quarts)
Instructions
- Roast the bones: Preheat oven to 400°F. Place oxtail and marrow bones on a baking sheet, drizzle with olive oil, and sprinkle lightly with kosher salt. Roast for 45–60 minutes until deeply browned.
- Deglaze the pan: Remove the bones and transfer to a large stockpot. Pour ~½ cup hot water into the baking sheet, scrape up browned bits (fond), and pour that into the pot.
- Add aromatics: Add onions, carrots, celery, garlic, peppercorns, and bay leaves to the pot.
- Add water: Pour in cold water until everything is just covered, leaving a little space at the top.
- Simmer: Bring to a boil, then immediately lower to a gentle simmer. Skim off any foam in the first 30 minutes.
- Cook: Simmer uncovered or partially covered for 3–4 hours. Add more water if needed to keep ingredients just submerged.
- Strain: Remove from heat and strain through a fine-mesh sieve or cheesecloth. Discard solids.
- Cool & store: Let cool, refrigerate until chilled, then skim off and reserve the fat cap (tallow) if desired.
Nutrition
Nutrition information is automatically calculated, so should only be used as an approximation.


Worked great!