

There are three things a turkey should be: flavorful, crispy, and really juicy.
Simple in theory — not always in practice.
After years of testing (and a few chaotic Thanksgiving mornings), I finally found a method that checks every box. This year’s turkey wasn’t just good — it was everything I want a bird to be. Deeply seasoned, golden and glassy on the outside, and so juicy you can literally see the flavor running through each slice.
I call it my 3-Phase Plan — a citrus-garlic-herb turkey that combines the best techniques I’ve learned over the years into one foolproof, flavorful process. It’s the next evolution of my original Turkey 101 recipe, but this time with a little more intention, a lot more flavor, and results that even impressed Nonno.
Why a 3-Phase Plan?
The secret to a perfect turkey isn’t one magic trick — it’s layering flavor and technique from start to finish.
Each phase of this plan plays a specific role:
- Phase 1: The Dry Brine — deeply seasons under the skin and sets you up for that ultra-crispy finish.
- Phase 2: The Injection (aka BBL) — infuses the meat with garlic, herbs, and citrus from the inside out, keeping every bite juicy without the need to baste.
- Phase 3: The Butter Rub — adds aroma, shine, and that rich, buttery golden crust everyone wants on the table.
Together, these three steps guarantee a turkey that’s flavorful through and through, never bland, never dry, and no last-minute panic required!

Phase 1: The Dry Brine
Timing: Two days before cooking
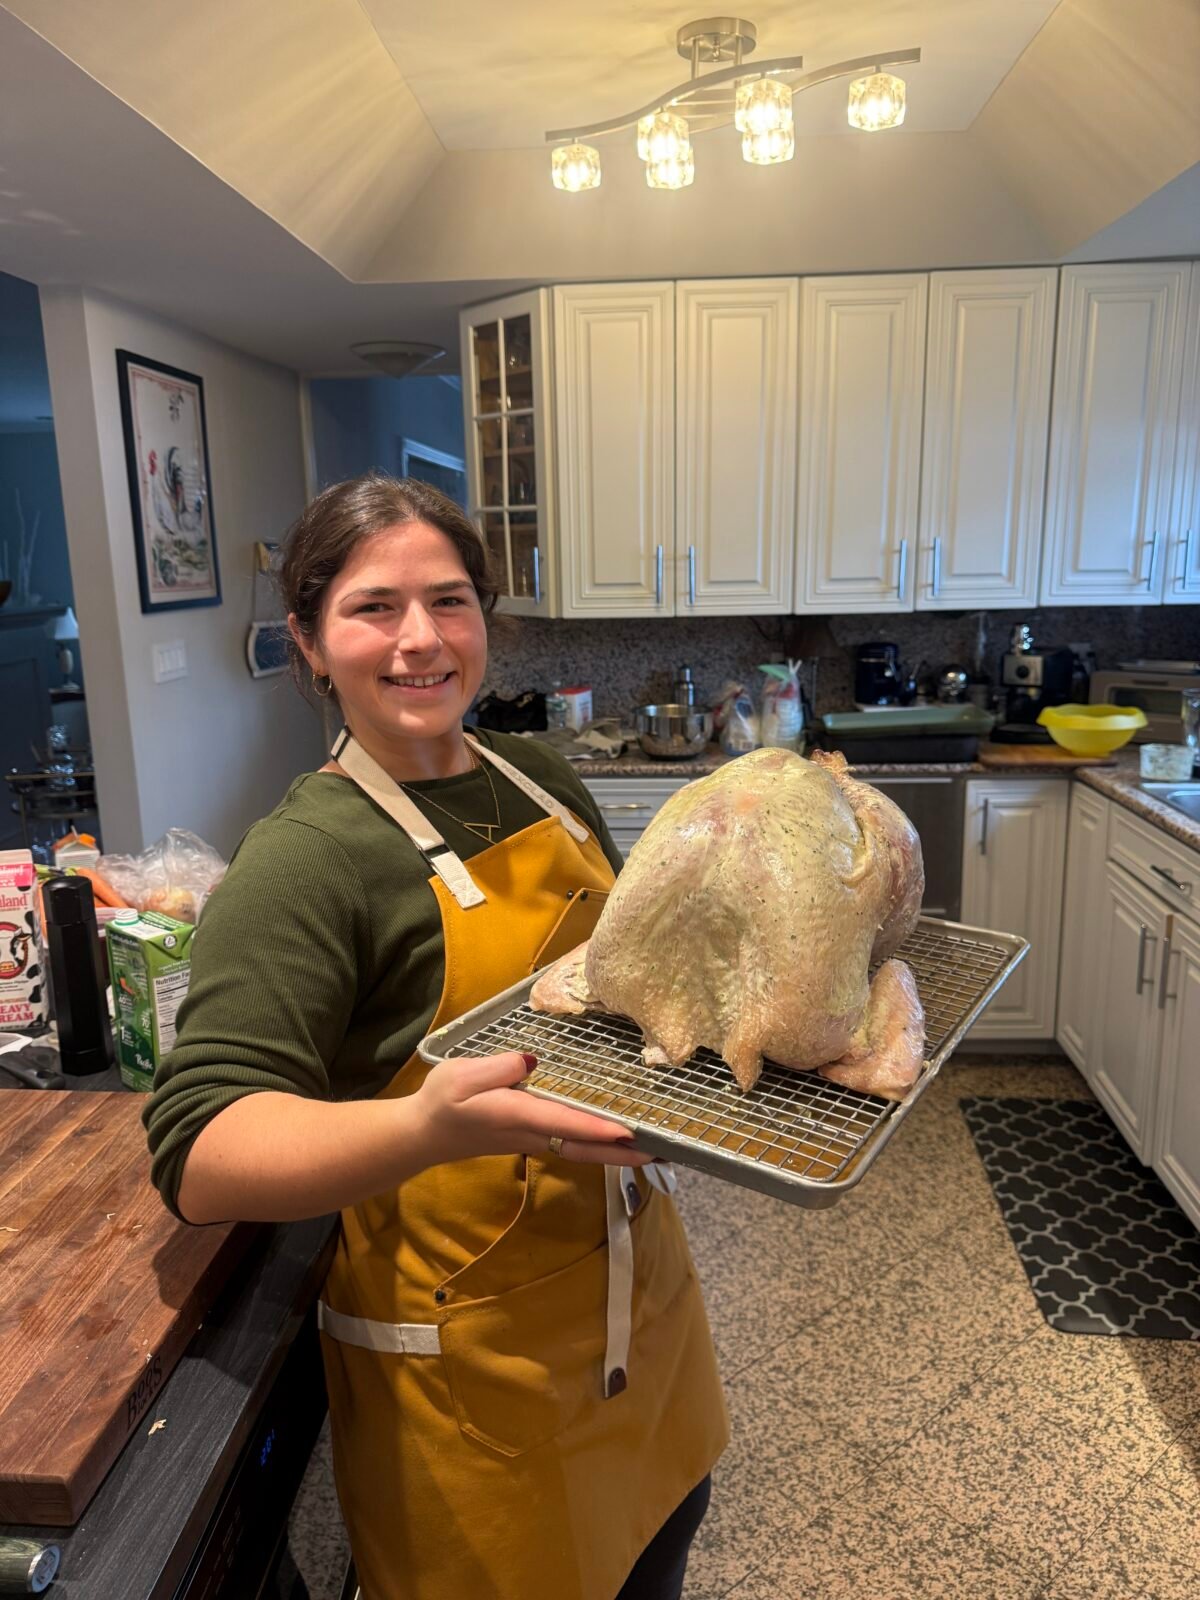
I start with a fully thawed, pasture-raised bird — patted completely dry inside and out. Remove the neck and giblets and set them aside for stock/gravy later.
Then I mix my go-to dry brine:
Kosher salt, brown sugar for balance, and a touch of baking powder — the secret to shatter-crisp skin.
Gently separate the skin from the meat and work the brine directly under the skin, especially over the breasts and thighs. Whatever’s left, rub all over the outside.
Place the turkey uncovered on a rack set over a sheet pan and refrigerate for at least 12 hours but up to 48 hours. This lets the salt penetrate while the skin dries out — crucial for that glassy, golden crust.
My Pro Tip
Dry Brine 101
Not only is it much easier and neater to store (imagine the horror of spilling raw turkey water all over your fridge), but it also skips the step of drying out the skin later, which is necessary for extra crispy skin. And NO, you don’t rinse out the salt once it’s done brining. You just want to make sure you use the right amount:
1 tbsp Kosher Salt (I only use Diamond Crystal) = every 5 lbs of turkey
1/2 tsp Baking Powder (helps make the skin even crispier) = every 5 lbs of turkey
1/2 tsp Brown Sugar (for flavor and bronzing) = every 5 lbs of turkey
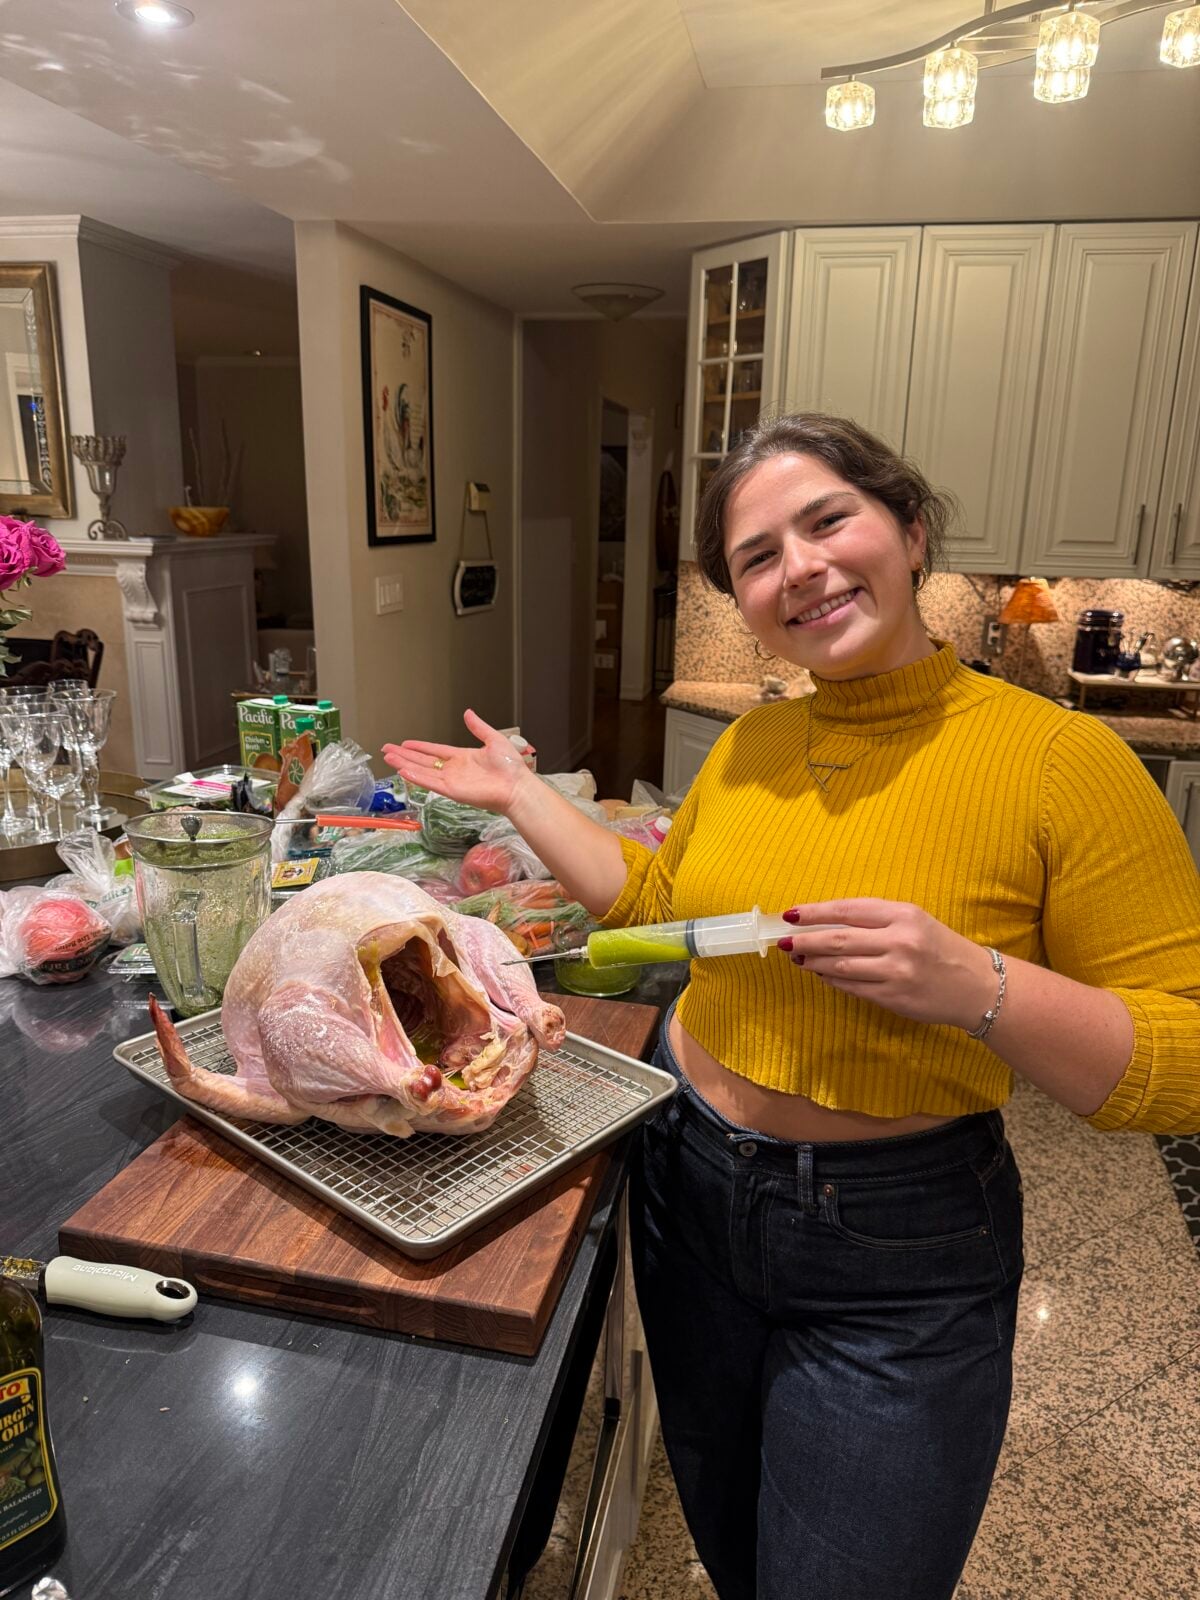
Phase 2: The Injection (aka BBL Treatment)
Timing: The day before cooking
This is where the real flavor comes in. I make a garlic-herb-lemon marinade with garlic, sage, chives, rosemary, thyme, lemon zest, olive oil, and butter. After a quick blend, I strain it so it’s smooth enough for an injector.
From the open cavity, I inject the marinade under the skin into the breasts and legs. Injecting beneath the skin (instead of piercing through it) keeps the juices locked in while the skin stays dry and crisp.
🪄 Think of it as a turkey BBL — it lifts, tightens, and keeps everything juicy.
Once injected, place the turkey back in the fridge uncovered overnight. That’s your built-in flavor rest.
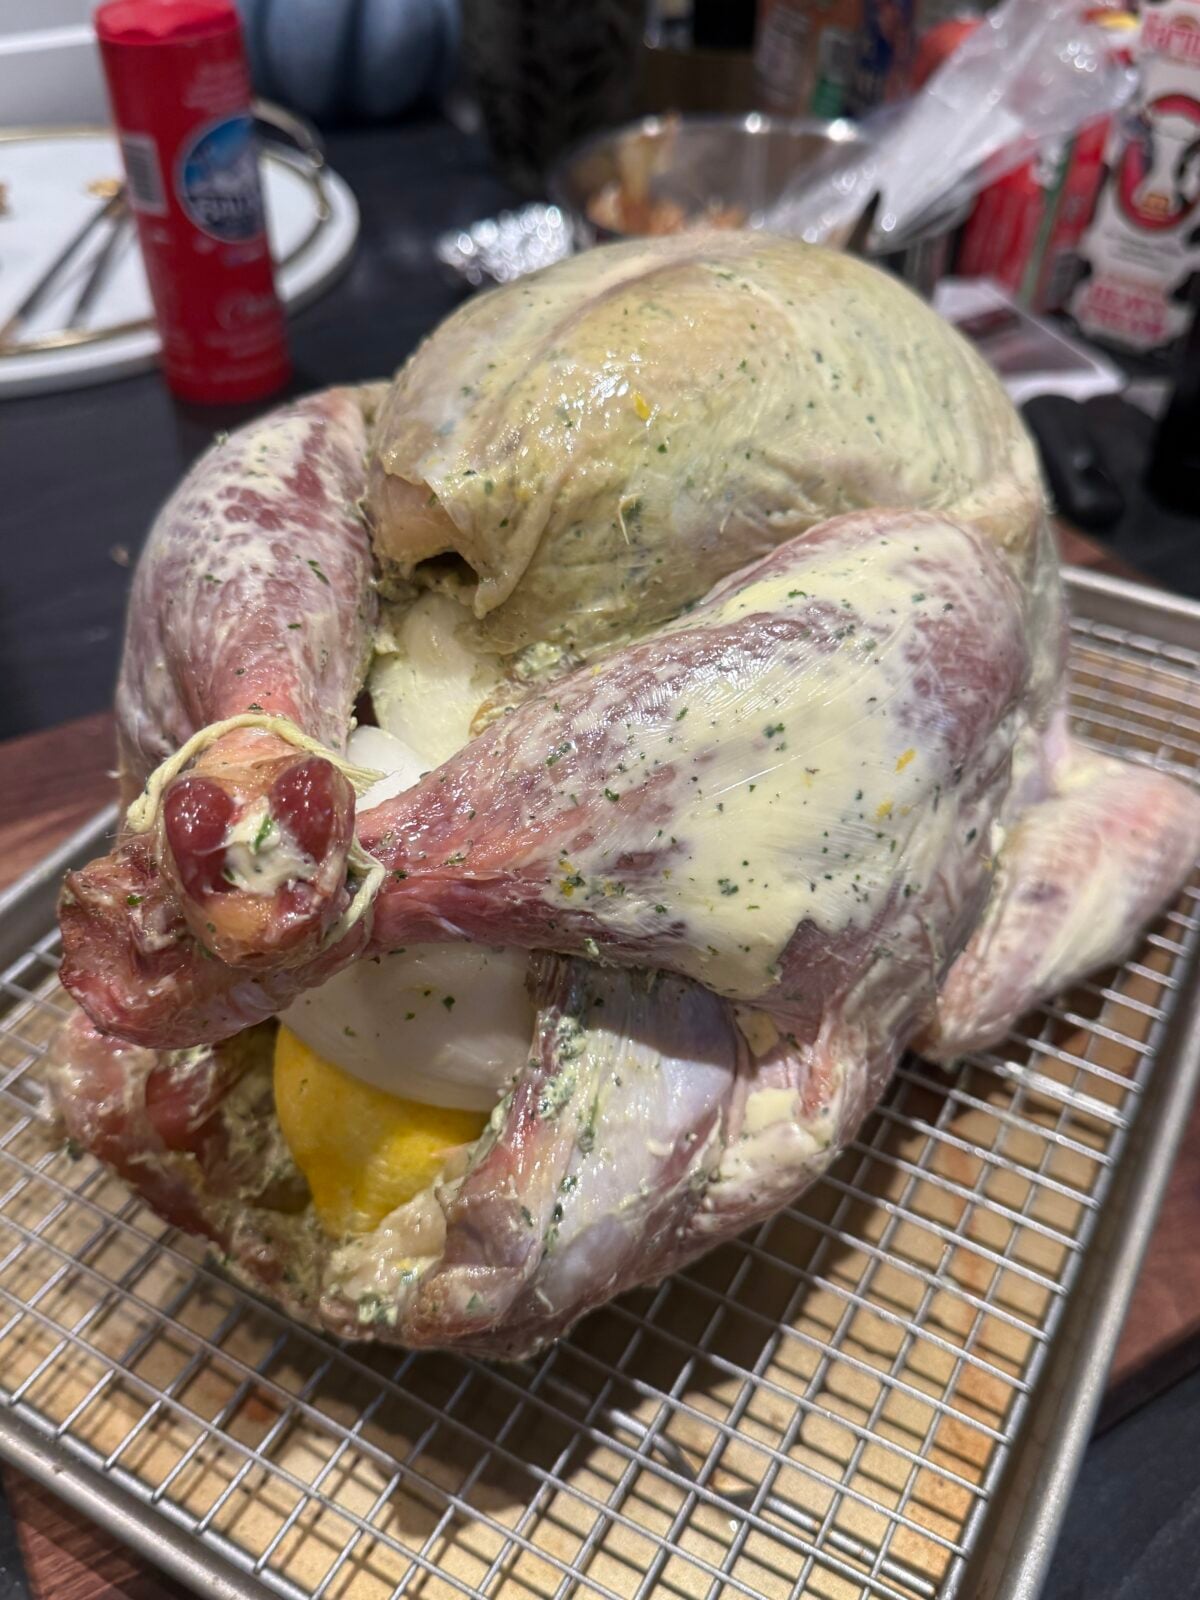
Phase 3: The Butter Rub
Timing: The morning of roasting
Time to layer in the final flavors and get that picture-perfect golden skin. But here again, there is a strategy.
Two butters:
- Under-Skin Butter: Softened butter mixed with chopped herbs (sage, thyme, parsley), lemon zest, and a bit of garlic.
- Over-Skin Butter: Plain unsalted butter — this gives you an even bronze glow without burning any herbs.
Gently lift the skin over the breasts and thighs and slide the herb-citrus butter underneath. Then massage the plain butter all over the top.
Stuff the cavity with herbs, apple, onion, and lemon halves, tie the legs with twine, and add a splash of chicken stock to the roasting pan.
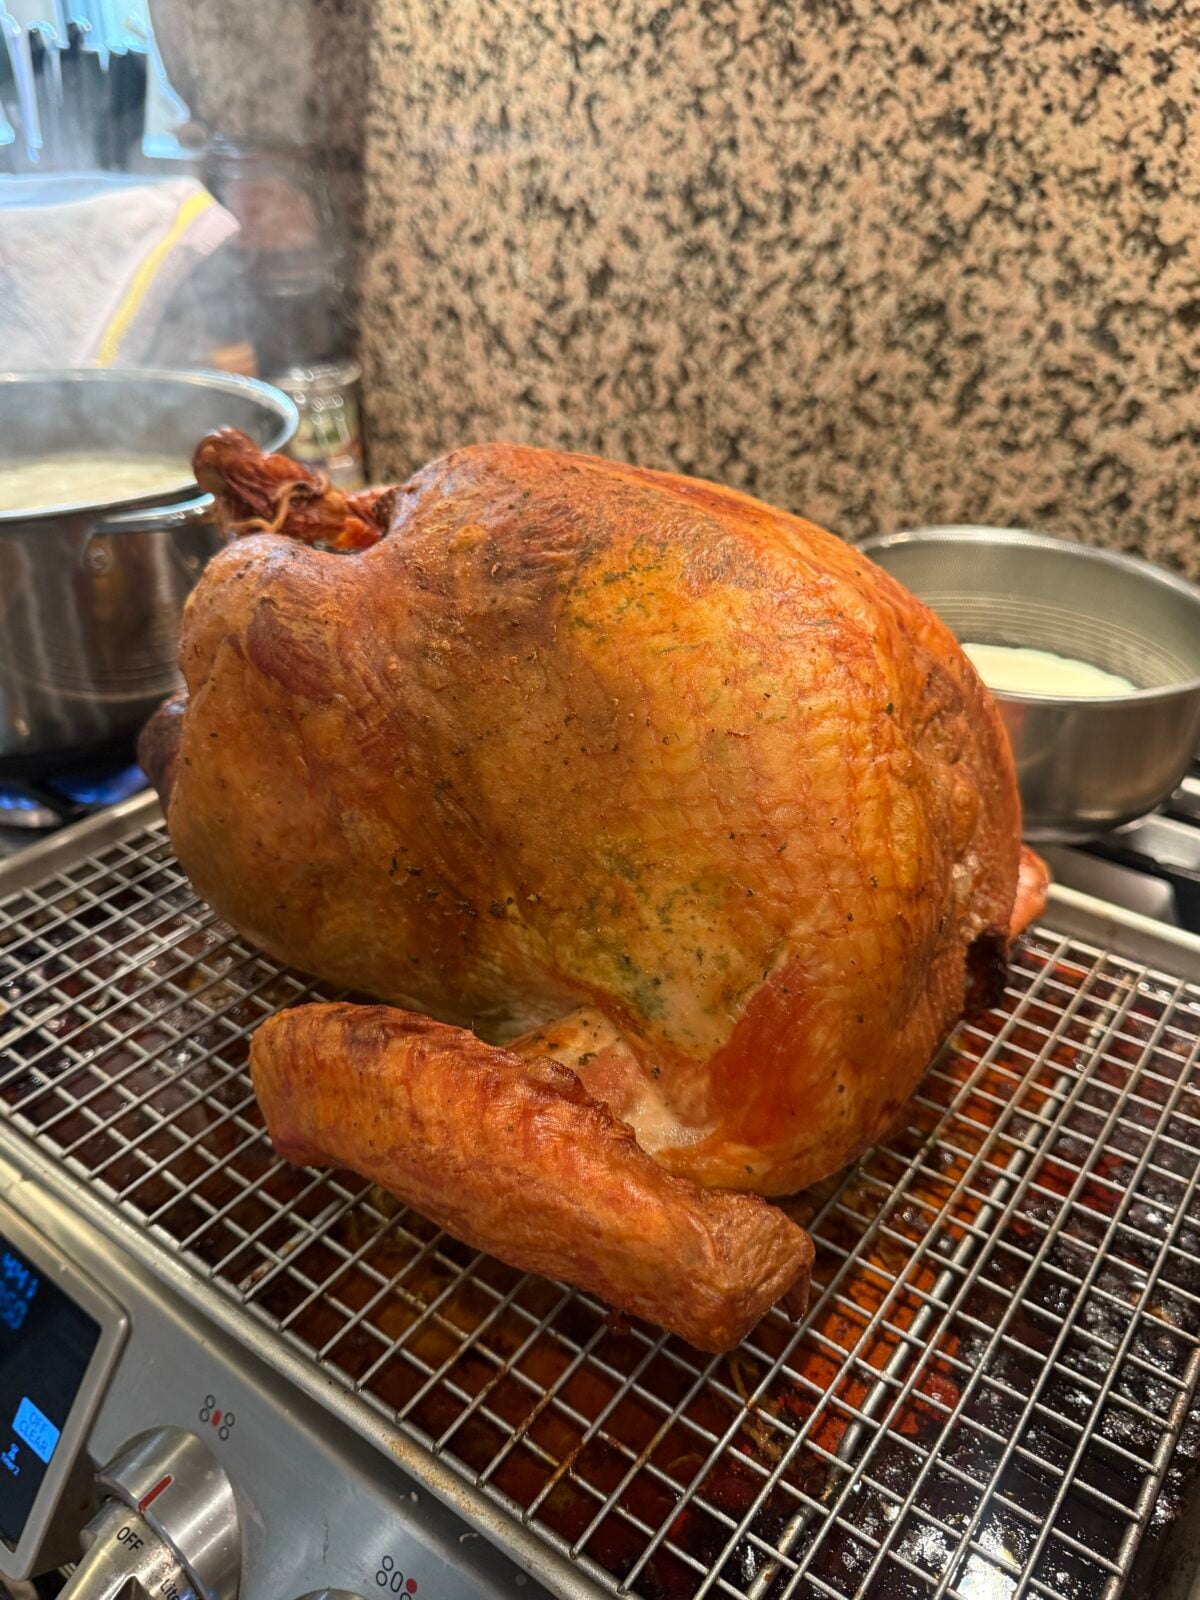
Roasting Schedule
- Preheat oven to 425°F. Roast the turkey for 30 minutes, rotating halfway through.
- Lower heat to 350°F and continue roasting, rotating every 30 minutes.
- Roast until internal temperature reaches 160°F in the breast and 175°F in the thigh.
- Rest the turkey for 30–45 minutes before carving.
If the skin is browning too quickly, loosely tent with foil!!!
🔥 Rotating every 30 minutes helps it brown evenly on all sides — a small step that makes a big difference.
3-Phase Citrus Garlic Herb Turkey

Ingredients
For the Turkey
- 1 whole 15-lb pasture-raised turkey, fully thawed
- 2 ½ –3 cups chicken stock, for the roasting pan
Phase 1 — Dry Brine (Apply two days before roasting)
- Apply two days before roasting
- 3 tablespoons kosher salt
- 1 ½ teaspoons baking powder
- 1 ½ teaspoons brown sugar , Ratio: 1 tablespoon salt per 5 lb turkey; ½ teaspoon baking powder + ½ teaspoon brown sugar per 5 lb
Phase 2 — Garlic-Herb Lemon Injection (Prepare the day before roasting)
- Prepare the day before roasting
- 10 cloves garlic, peeled
- 1 handful fresh sage leaves
- 1 bunch chives
- 2 stems fresh rosemary, leaves removed
- Several sprigs fresh thyme
- Zest of 1 lemon
- ½ cup extra-virgin olive oil
- 4 tablespoons melted butter
Phase 3 — Butter Rub (Prepare morning of roasting)
Under-Skin Butter
- ½ stick, 4 tbsp unsalted butter, softened
- 2 fresh sage leaves
- 1 handful fresh parsley leaves
- Small bunch chives
- 1 sprig rosemary
- Several sprigs thyme
- 1 tablespoon olive oil
Over-Skin Butter
- ½ stick, 4 tbsp unsalted butter, softened
To Stuff the Cavity
- 1 apple, halved
- 1 onion, halved
- ½ lemon, halved
- Extra herbs, sage, rosemary, thyme, parsley
Instructions
Phase 1 — Dry Brine
- Pat turkey dry inside and out.
- Combine salt, baking powder, and brown sugar.
- Loosen skin over breasts and thighs; rub brine under and over skin.
- Refrigerate uncovered on rack for 48 hours.
Phase 2 — Injection
- Blend garlic, herbs, lemon zest, olive oil, melted butter until smooth.
- Strain through fine sieve.
- Inject mixture into breasts and thighs from beneath skin (open cavity side).
- Refrigerate uncovered overnight.
Phase 3 — Butter Rub & Roasting
- Preheat oven to 425°F (220°C).
- Blend under-skin butter ingredients until smooth.
- Spread under skin over breasts and thighs.
- Massage plain butter over top.
- Stuff cavity with apple, onion, lemon, and herbs; tie legs.
- Add chicken stock to pan; set turkey on rack above.
- Roast 30 min at 425°F, rotating halfway.
- Lower to 350°F (175°C); rotate every 30 min until temps reach 160°F breast / 175°F thigh.
- Rest 30–45 min before carving.
- 💡 If skin browns too fast, tent loosely with foil in the last 30 minutes.
Nutrition
Nutrition information is automatically calculated, so should only be used as an approximation.
Timing & Oven Management
This is so important and deserves its own category. Cooking time will vary depending on your oven, bird size, and even the shape of your roasting pan.
While the classic formula is about 12 minutes per pound, my 15-lb turkey cooked in just 2 ½ hours — and the breast could’ve come out even a touch earlier if I’m being honest.
That’s why temperature beats time every single year. Invest in a good digital thermometer, check both the breast and thigh in multiple spots, and pull it the moment the bird hits the right internal temps.
🕰️ Trust the thermometer — not the clock.
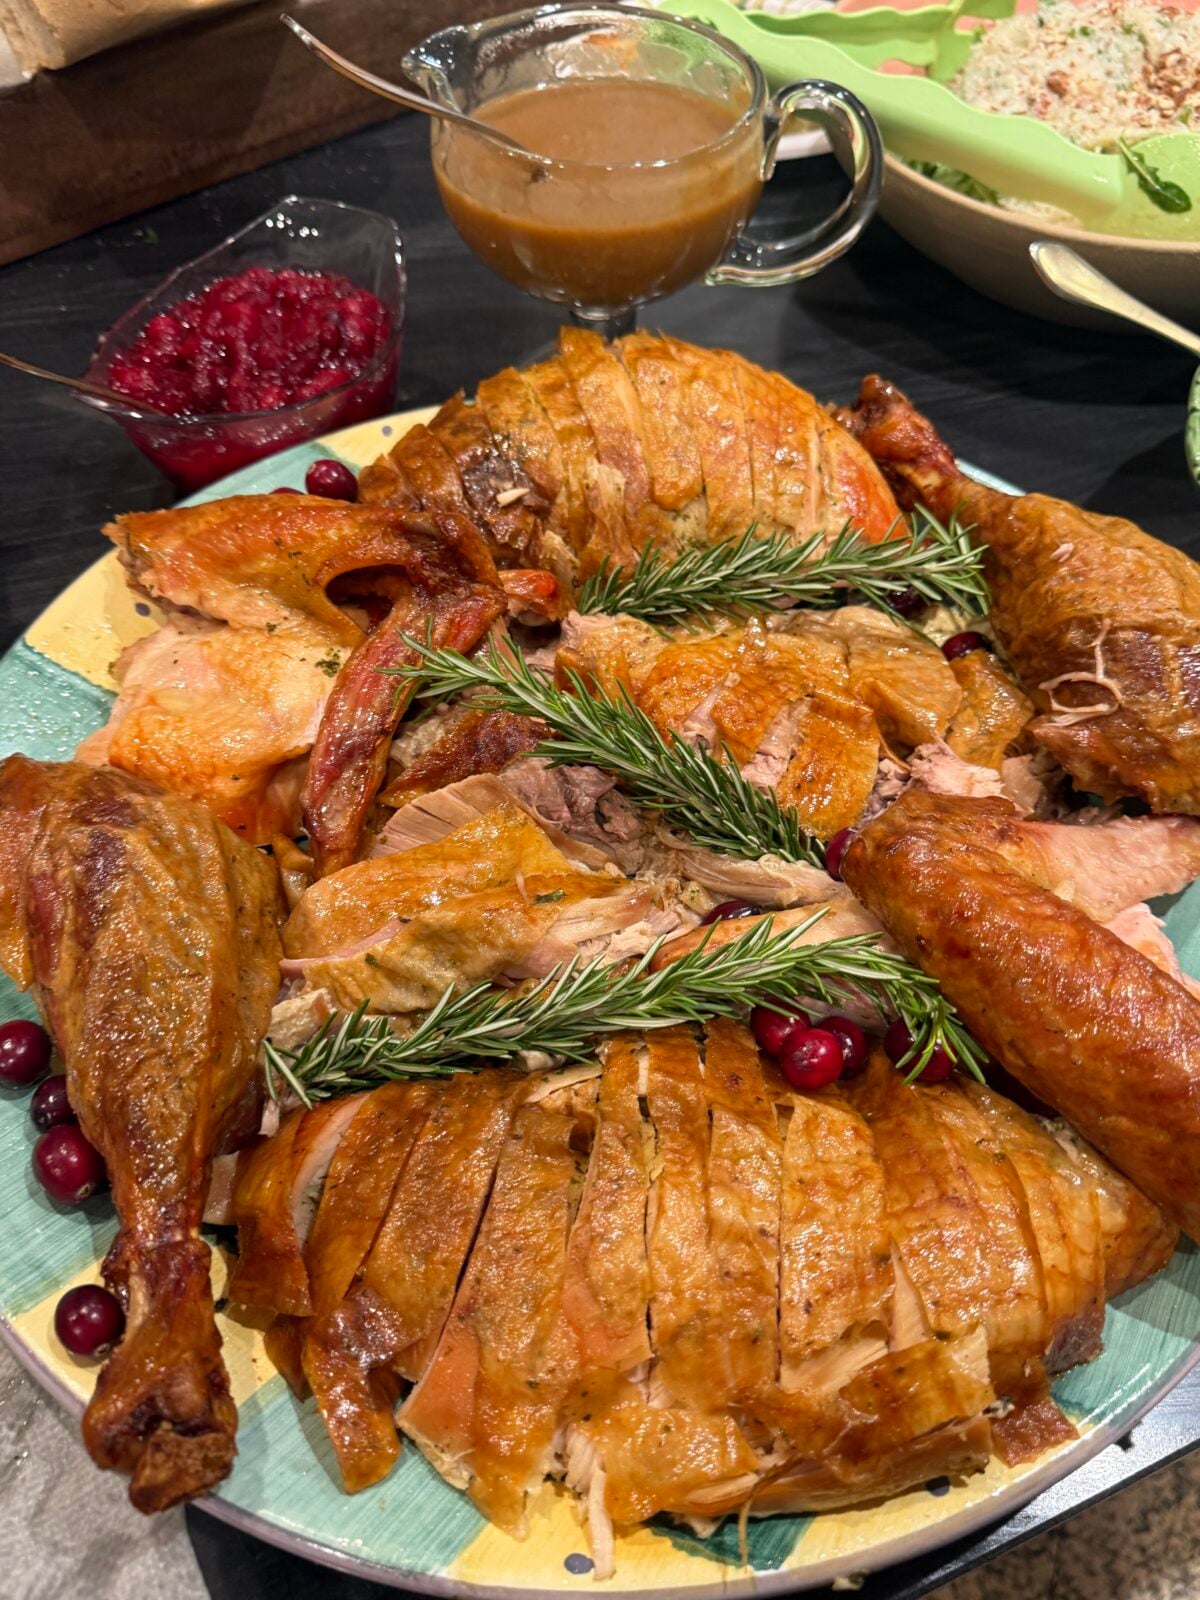
The Result
When I sliced into the turkey, you could literally see the injection lines running through — ribbons of pure flavor. The meat stayed tender and juicy from edge to center, and the skin was beautifully crisp.
Watch my video on how to carve and present a beautiful turkey!!
I deboned and plated it family-style so everyone could try a bit of everything, and when I asked Nonno what his favorite dish was this year, he didn’t even hesitate: “The turkey.”
Mission accomplished.

Tips & Tricks
- Dry thoroughly. Pat the turkey completely dry before brining — it’s key for crispy skin.
- Inject from beneath. Always go through the open cavity to avoid piercing the skin.
- Rotate often. Every 30 minutes ensures even color and cooking.
- Butter twice. Herbs under the skin, plain butter on top.
- Rest before carving. It locks in the juices and keeps every slice tender.
FAQ
Yes — even 24 hours helps. Two days gives deeper flavor and crispier skin, but one day still works beautifully.
You don’t have to, but it’s what separates this turkey from every other one. It guarantees juiciness without the need to baste.
You can skip the injection and instead marinate the turkey overnight in the strained garlic-herb-lemon mixture, flipping halfway through.
Absolutely. Scale the brine and injection amounts down proportionally. Just shorten the cook time (roughly 12 minutes per lb at 350°F after the first 30 minutes).


It was easy to follow along & delicious, thank you ^_^
Made this recipe for my very large family for Christmas eve dinner and I couldn’t be happier with the results. My father said it was one of the best turkeys he’s ever had and my cousin’s wife who doesn’t like turkey said it was good. It’s definitely a good bit of work and takes some planning, but it’s so worth it. Thank you for the wonderful recipe!
Hello! Thank you! I’m going to try this method this year (2025) and come back with results. I have an 18 pounder I purchased from the Amish Community, so hopefully it will yield a good bird!